FlatBook has 1 nav menu location called Primary Menu which is shown at the top of the pages. In the Menus Customizer panel you can create, edit and manage the menu items in the navbar. You can use three different menu item types, each for different purpose.
Create Menu
If you don’t have the menu coming from the demo content import, you have to create it:
- Navigate to Appearance » Customize » Menus screen
- Click on the Create New Menu button
- Name the menu, and check the Primary Menu checkbox at the bottom
Page Menu Link
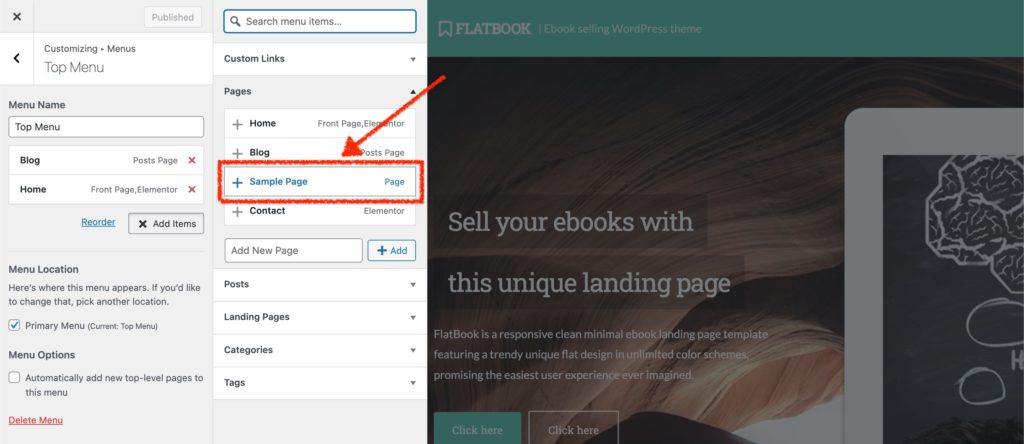
Click on the Add Items button and select items from the Pages box to create menu items linking to other pages. To create a page menu link, just click on the page name you would like to add.
Dropdown Menu Link
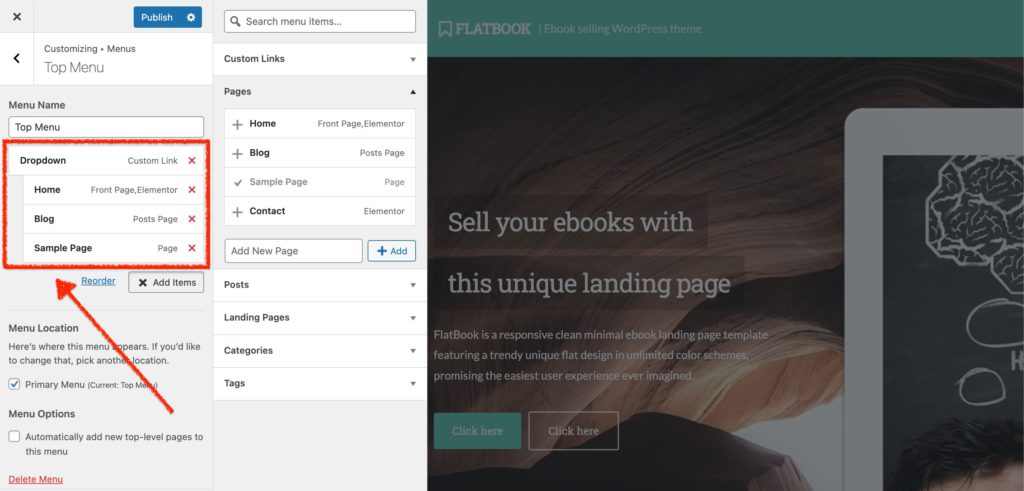
FlatBook supports dropdown menus until one level depth. It’s useful to organize your nav menu links below each other to look clean. To create dropdown menu link, drag the sub item below the parent.
Scroll Menu Link
This is a menu link type, that scrolls to a specific section on a page (mostly homepage) when it is clicked. To create scroll menu links, follow the steps below.
Define a section
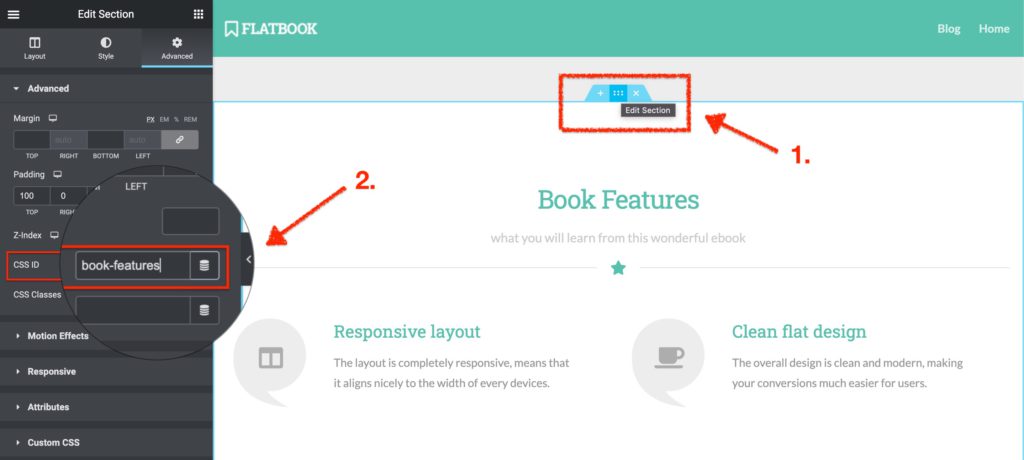
- In the Elementor builder, click on a section to edit, and navigate to the Advanced tab
- Enter a custom id for the section, like
book-features - Click Update to save the modifications
Create a link
- Navigate to Dashboard > Appearance > Menus
- Add a new Custom Links item from the left sidebar
- Delete the content of the URL field
- Name the menu item below Navigation Label
- Add the custom ID (created in the previous part) into the Anchor ID field
- Click Save Menu to update

